Digital Photo Frame
I have been checking out those digital photo frames for some time now. Thinking that I really ought to have one. The problem is that I am so cheap. I just can’t seem to force myself to put out around $70 for a wallet sized photo frame. As long as I have been waiting for the prices to drop, they haven’t really seemed to.
Well, the other day it occurred to me that I bought my wife a nice new laptop for Christmas and still had my old one kicking around that she isn’t using anymore. It’s an old Dell 400 mumble mhz lappy with a good looking 14 inch screen. Why not just make that into a photo frame right?
It turns out that there are a multitude of people that have done something similar and there is no shortage of information about it on the net, so I set about to do just that. First thing was to do a little research about software, etc. This had me testing several software slideshow packages on Linux. I settled on “feh”. It’s a pretty good package, readily available and easy to script and work with. After that I needed to get a good clean Linux install on that old laptop. I decided to go with Gutsy (Ubuntu 7.10), which took a *long* time to install on that lappy. I even used the text installer since it was a low resource laptop, and the install must have taken several hours – although mostly unattended.
After installing the os and utils I wanted, I set about taking apart the old laptop. This was relatively easy – just taking off the plastics from around the lcd. I didn’t really need to do any disassembling of the main body at all. It was just a few screws and it was loose.
Then, how to mount the lcd. I took my queue from many sites on the net and picked up a frame and some of that foam core posterboard. The foam core board is just about exactly the same width as the lcd. I cut a piece of foam core the same size as the inside back of the picture frame I had purchased, and then cut a hole in the center of that the same size as the lcd. I then dropped the lcd into the foam core and duct taped it into place. then I put the foam core on the back of the picture frame and duct taped that into place as well. Lastly, I flipped the remaining portion of the laptop around backwards and used double sided foam tape to mount the back of the frame to the back of the laptop.
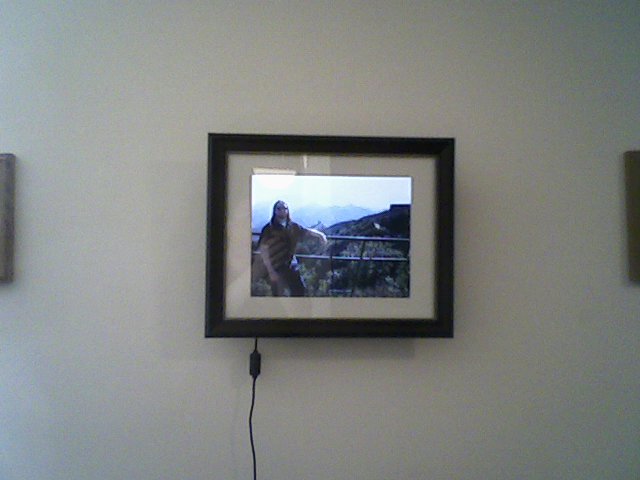
As you can see, the result is quite nice. I get a whopping 8.5 inch by 11 inch digital photo frame for the grand price of about $12 and change. The best part is that this is not just a photo frame but an entire computer whose display I can control remotely (vnc, ssh) wirelessly. This frees me up to do other things with it as well, such as display the weather report on it in the morning automatically before I head out for work, change a few frames to a giant digital clock, it’ll do video, the audio still works so I could play mp3’s from it, etc. Possibly use it as a sort of digital message board even. The possibilities are almost endless.
The verdict: This was a very easy project to do in a few spare hours with some old spare hardware that has stunning results. Give it a try and let me know how you make out!